In a previous docker tutorial we saw how to deploy a single Spring Boot Microservice to Docker container. But suppose the requirement is such that we may need to deploy multiple microservices to Docker container.
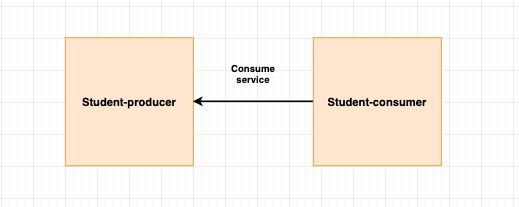
As the name suggests student-producer will be exposing REST APIs which will be consumed by the student-consumer. The way Docker has been designed such that a Docker Container should have only a single service running. So we will be deploying the two microservices student-producer and student-consumer to two different containers and then have them interact with each other.
We had created student-producer in the previous article. Now we will create student-consumer which will consumer REST API of student-producer.
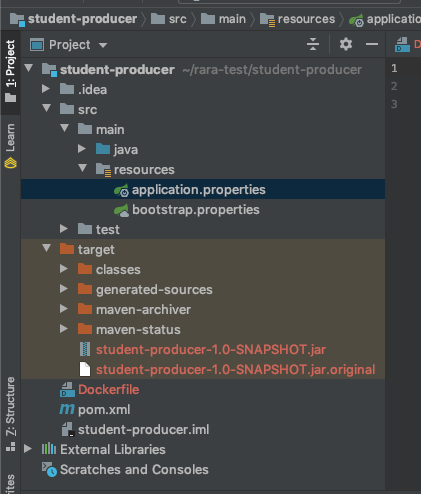
The project structure of student-producer looks like:
The dockerfile looks like this-
FROM openjdk:8
copy ./target/student-producer-1.0-SNAPSHOT.jar student-producer-1.0-SNAPSHOT.jar
CMD ["java","-jar","student-producer-1.0-SNAPSHOT.jar"]
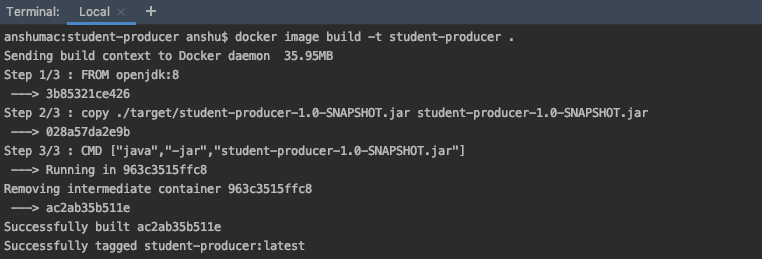
Now open the terminal and go to the Spring Boot student-producer project folder. Next we will build an image with the name producer.
docker image build -t student-producer .
Next we will run the above image as a container named producer. Also we will be publishing the docker port 8081 to centos port 8081.
docker container run –name producer -p 8081:8081 -d student-producer

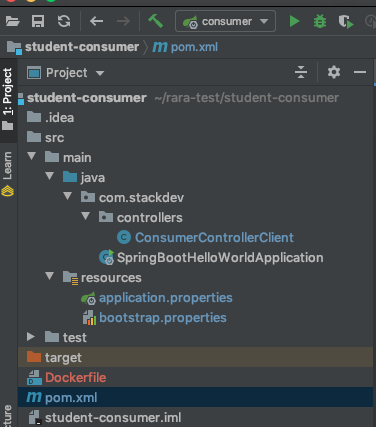
The project structuer of student-consumer will look like this-
We have created and started a container named producer where we have deployed the student-producer service. So the only change we will be making is while consuming the student producer service we will be using this container named producer instead of localhost:8081. So in the ConsumerControllerClient class we will be having the base url as Go to http://producer:8081/student instead of http://localhost:8081/student.
Create ConsumerControllerClient.java as:
import java.io.IOException;

import org.springframework.http.HttpEntity;
import org.springframework.http.HttpHeaders;
import org.springframework.http.HttpMethod;
import org.springframework.http.MediaType;
import org.springframework.http.ResponseEntity;

import org.springframework.web.client.RestClientException;
import org.springframework.web.client.RestTemplate;

public class ConsumerControllerClient {

    public void getStudent() throws RestClientException, IOException {

        String baseUrl = "http://producer4:8081/student";
        RestTemplate restTemplate = new RestTemplate();
        ResponseEntity<String> response=null;
        try{
            response=restTemplate.exchange(baseUrl,
                    HttpMethod.GET, getHeaders(),String.class);
        }catch (Exception ex)
        {
            System.out.println(ex);
        }
        System.out.println(response.getBody());
    }

    private static HttpEntity<?> getHeaders() throws IOException {
        HttpHeaders headers = new HttpHeaders();
        headers.set("Accept", MediaType.APPLICATION_JSON_VALUE);
        return new HttpEntity<>(headers);
    }
}
The dockerfile will look like this:
FROM openjdk:8
copy ./target/student-consumer-1.0-SNAPSHOT.jar student-consumer-1.0-SNAPSHOT.jar
CMD ["java","-jar","student-consumer-1.0-SNAPSHOT.jar"]
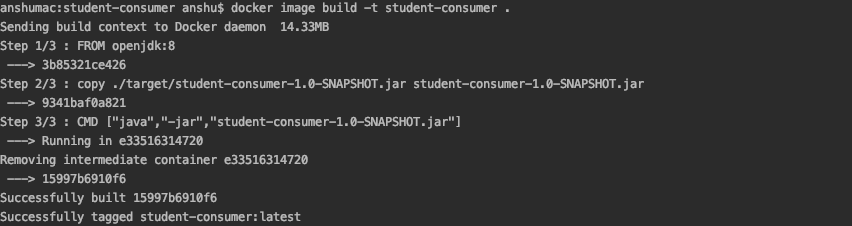
Open the terminal and go to the Spring Boot student consumer project folder. Next we will build an image with the name consumer.
docker image build -t student-consumer .
Next we will run the above image as a container named consumer.
docker container run –name consumer -d student-consumer
check the logs using docker container logs consumer
We will see the error that the container named consumer is not able to communicate with the container named producer. We will be using Docker Networking to allow multiple containers to interact with each other. We will need to create our own network and add both the student-producer and student-consumer services to it. We will stop and remove the existing docker containers named consumer and producer.
You can check the available networks using this command:
docker network ls
Next we will create our own network
docker network create consumer-producer
Now we will remove existing consumer and producer containers.
docker rm -f consumer
docker rm -f producer
Lets start the student producer and consumer container on the newly created network.
docker container run –network consumer-producer –name producer -p 8081:8081 -d student-producer
docker container run –network consumer-producer –name consumer -d student-consumer
Now we can see the producer API being consumed by the consumer.

